1. Architecture:

This is the third option in the Windows 365 architecture. In this approach, we use Microsoft Entra Hybrid Join instead of Entra Join, and establish an on-premises network connection to provision the Cloud PC.
2. Prerequisites:
1. Since we are using On-Premises network connection, make sure the required ports and URLs are whitelisted: Network requirements for Windows 365 | Microsoft Learn
2. An Azure Subscription to manage your Virtual Network, Image etc.

3. An on-premises environment that is connected to the Azure environment, either through ExpressRoute or a site-to-site connection.

4. An Organizational Unit.

5. An user account or a service account that has the required rights to join the machine to the domain.

6. On Prem Active Directory users and groups are synced to Entra ID using the Entra ID Connect.


7. I did configure the Hybrid Azure AD join setting in Entra ID connect. To configure please refer to my previous blog: https://www.azuretechlead.com/2024/08/single-sign-on-sso-for-azure-virtual.html

8. The Virtual Network to be used by the Cloud PC is peered to the hub network and the DNS server details are updated.


9. Custom Image (Supported versions of Windows 10 or Windows 11 Enterprise must include Generation 2 images)

In our scenario, we have purchased 2 licenses and assigned to user1@cloudazure.co.in
Microsoft 365 Business Premium since it includes Intune and Entra ID P1 in it.
Windows 365 Enterprise 2 vCPU, 8 GB, 128 GB to use Cloud PC.

Intune Administrator is required to work on Intune Portal and provision a Cloud PC.
License Administrator is required to assign license to the end users from the Admin Portal.


13. Appropriate license is assigned to the security group.

3. Create the Azure Network Connection:
1. Login to the Intune Portal https://intune.microsoft.com/
2. Click on Devices on the left hand menu.
3. Under Device Onboarding, click on Windows 365.
4. Click on Azure Network Connection.
5. Click on +Create.
6. Select Hybrid Microsoft Entra Join.

7. Give a suitable name.
8. Select the appropriate subscription.
9. Select the resource group that contains the virtual network.
10. Select the virtual network and the subnet.
11. Click Next.

12. Enter the AD DNS Domain Name.
13. Enter the OU details in the same format.
14. Enter the username and the password.
15. Click Next.

16. Go with the default scope. Click Next.

17. Click Review +Create.

18. Windows 365 verifies that the objects referenced by the ANC are healthy and connections can be made to these objects.


4. Add the Custom Image:
1. Click on Custom Image. Click on +Add.

2. Give a suitable Image name.
3. Give the version.
4. Select the subscription and the source image.
5. Click on Add.


5. Create the Provisioning Policy:
1. Click on Provisioning policies and then click on +Create Policy.

2. Under General tab, give a suitable name and description.
3. Select the License type as Enterprise.

5. Select the Azure Network Connection that we created.
6. You can check the box for Single Sign-On, but make sure it is already configured. Even if it is not configured, you can still check the box; it won’t cause any issues.
7. Click Next.


8. Select the Image Type as Custom image and select the image we uploaded.
9. Click Next.

11. Under Cloud PC naming, please leave the default option unchecked. If you wish to assign your own name to the Cloud PC, check the box and provide a suitable name as needed.
12. Under Additional Services, you can select either Windows Autopatch or None. If Windows Autopatch is selected, it should be pre-configured. We will dive deeper into all these options in the upcoming blogs.
13. Click Next.

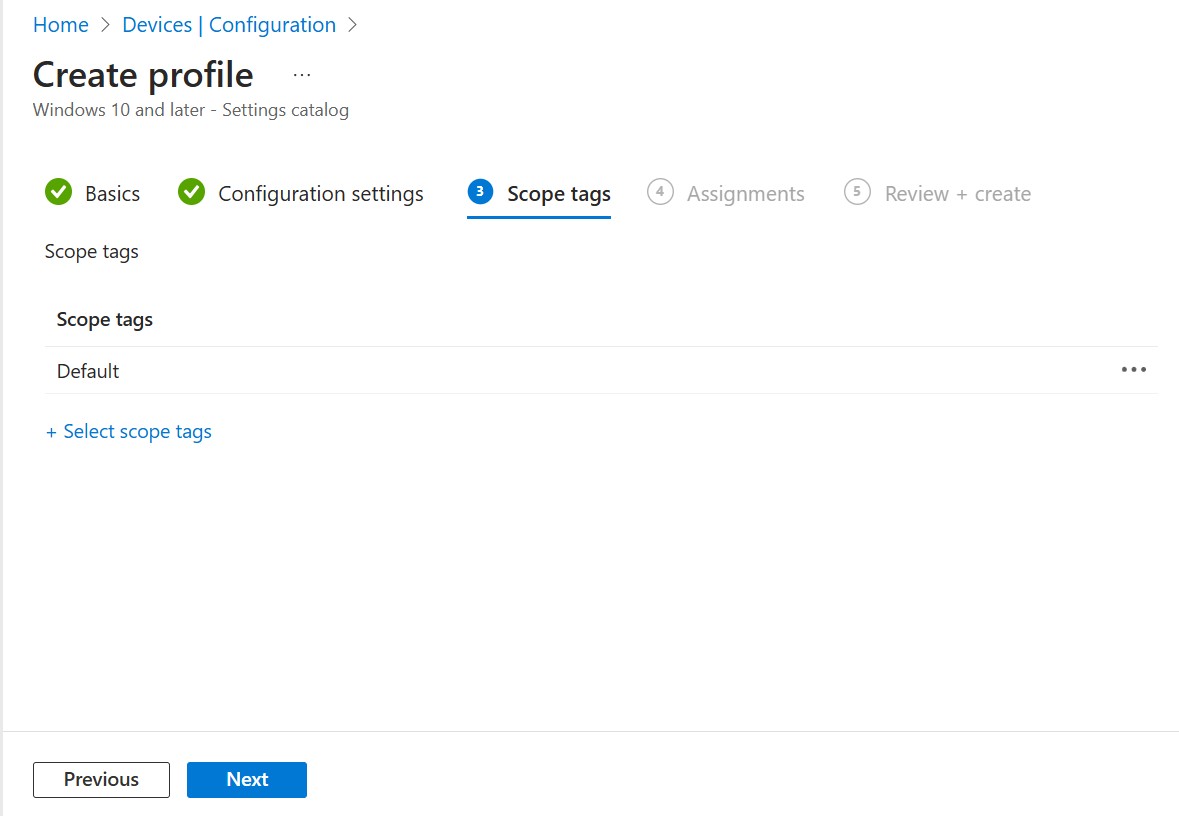
14. Leave the Scope tags at default.
15. Click Next.

17. Click Next.


18. Click Create.

19. Under All Cloud PCs you can see the provisioning status. It would approximately take 1 hour to provision a Cloud PC for the user.

20. The provisioning is successful.

6. User Settings:
The User settings page lets us manage the following settings for the user:
Enable local admin: If enabled, each user in the assigned groups will be granted local administrator privileges on their own Cloud PCs.
Enable users to reset their Cloud PCs: If enabled, a Reset option will appear in the Windows 365 app and portal for users in the assigned groups. This option allows users to wipe and reprovision their Cloud PC, deleting all user data and applications.
Allow user to initiate restore service: If enabled, each user in the assigned groups can restore their own Cloud PCs to any available backup.
NOTE: It is not mandatory to enable all options within a single user settings policy. You can create multiple user settings policies and assign them to the appropriate security groups as needed.
1. Click on User Settings tab. Click on Add.

2. Give a suitable name.
3. Depending on the requirement you may select the options.
4. Click Next.


7. The reset and restore options will be available to the end user in the Windows app after clicking on the three dots.

7. Create a Dynamic Device Security Group:
A dynamic device security group is used to apply policies to all Cloud PCs being created. You can create a regular security group and manually add devices as they are created. However, with a dynamic device security group, you can include a query that specifies that all device names starting with "CPC" should be part of this group. This way, you won't need to manually add devices each time one is created.
1. Go to Home-Groups-All Groups-New Group.

3. Give a suitable name.
4. Select the membership type as Dynamic Device.
5. Under Dynamic device members click on Add dynamic query.


 5. Give a suitable name.


 15. Click on Create.


6. You can configure the query as shown below. Click Save.
7. Click on Create.

8. Manage RDP device redirections for Cloud PCs:
1. On the homepage of the Intune portal, click on Devices. Under Manage devices, click on Configuration. Under Policies, click on Create, and then select New Policy.

2. Under Platform select Windows 10 and later.
3. Under Profile type select Settings catalog.
4. Click on Create.

6. Click on Create.
 7. Click on +Add settings


8. Go to Administrative Templates-Windows Components-Remote Desktop Services-Remote Desktop Session Host-Device and Resource Redirection
9. Click on Select all these settings.

10. You may enable the required settings.
11. Click Next.

12. Keep the Default as is. Click Next.
13. Please add the dynamic device security group we created, as these are computer-based policies that are applied at the device level rather than the user level.
14. Click Next.


9. Access the Cloud PC:
1. You can use either the Windows app or a web browser to navigate to https://windows365.microsoft.com/ and access your Cloud PC.
2. Please navigate to my previous blog https://www.azuretechlead.com/2024/10/getting-started-provisioning-microsoft.html to know how to download and use the Windows App.
3. Click on Connect. Enter the credentials. Click Ok.

4. Cloud PC is successfully provisioned for the user1.

Comments
Post a Comment