.jpg)
1. Under the Actions tab, select Connect under the Virtual Machine section.

2. Click Start.

3. After you press Start, wait 2–3 seconds, then immediately press any key on the keyboard to boot the OS.


4. Depending on your location and preference, select the language, time and currency format, and keyboard input.
5. Click Next.

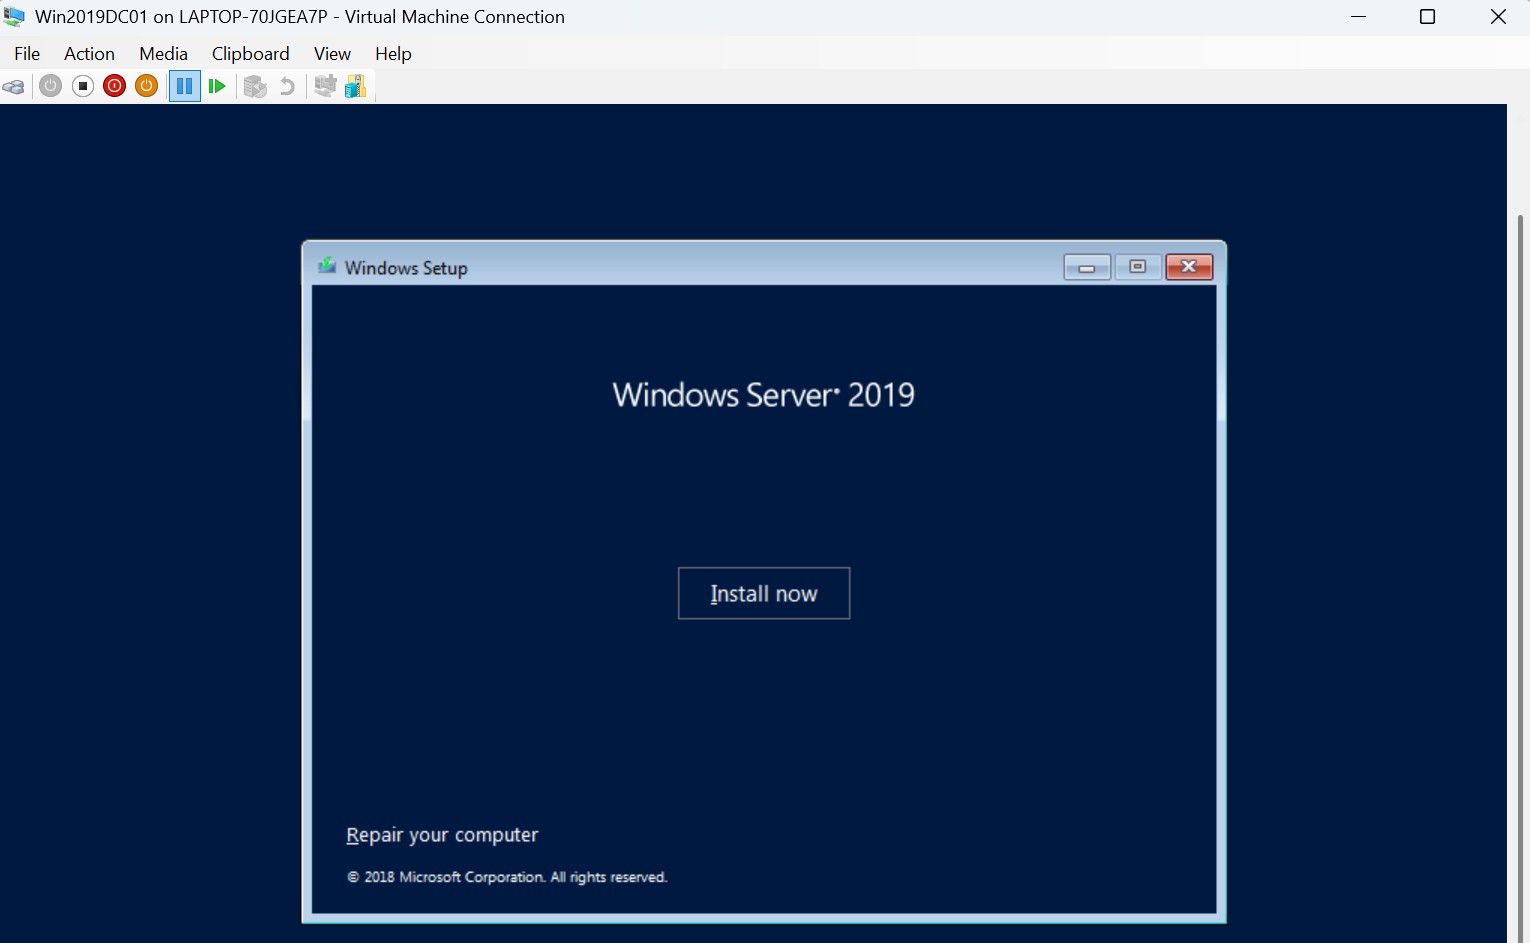
6. Click Install Now.
7. Select the Datacenter edition (Desktop Experience). This edition provides a full-featured GUI environment, ideal for enterprises needing unlimited virtualization rights along with advanced features like Storage Spaces Direct, Shielded VMs, and Software-Defined Networking.

8. Accept the Terms. Click Next.

9. For a fresh installation, select Custom.

10. Click Next.

11. The installation is in progress.

12. The system will restart.

13. Provide a password and press Enter.

14. For the display configuration, drag the slider to Large.
15. Click Connect.

16. Enter the password and you’re good to go.

Comments
Post a Comment