Cross-Region Replication for Azure NetApp Files in Azure Virtual Desktop as part of Disaster Recovery Strategy
1. Prerequisites:
1. The destination Azure NetApp account should be created in the same way as the source Azure NetApp account but in a different region.
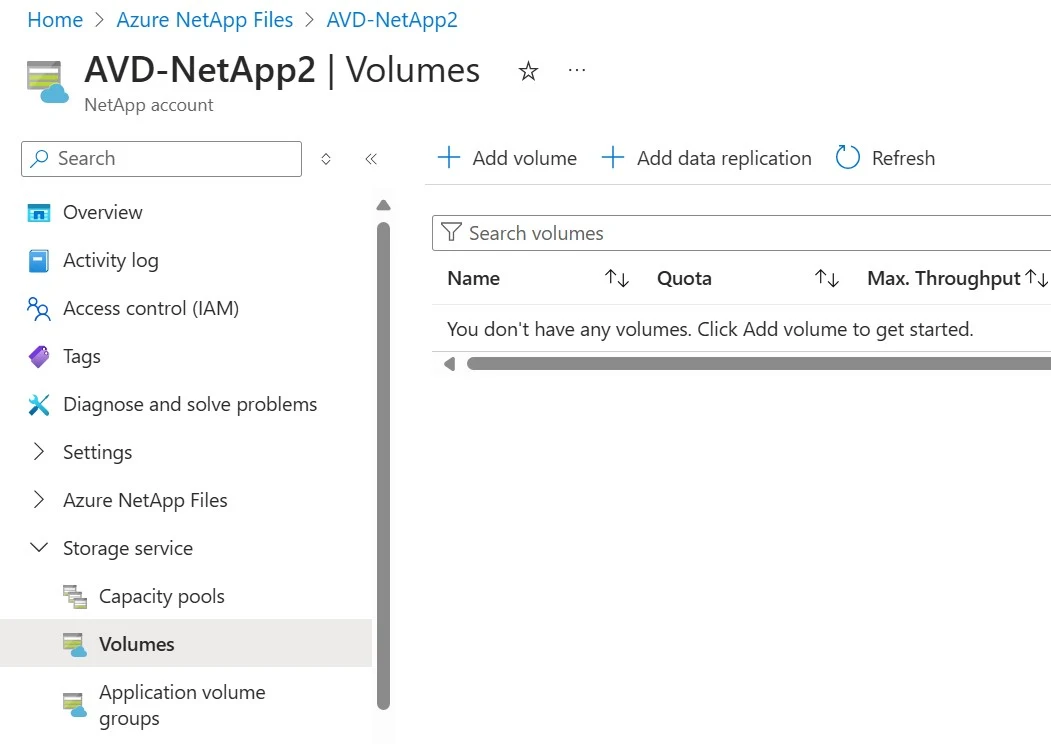
- You can refer to the previous blog for a step-by-step guide on configuring an Azure NetApp Account. After setting up the account, also create the Capacity Pool. Do not create the Volume.
- In this scenario, the source region is Central India and the destination region is South India.
- Be sure to check the regional pairs according to the customer's requirements before proceeding.
In this scenario, Source Volume is the one created in the previous blog. Let us see how to find the Resource ID.
Search for Azure NetApp File in the global search. Go to the Source Azure NetApp Account created. Click on Storage service->Volumes->Click on the Volume created->Settings->Properties.
Copy the complete path in Resource ID field.
3. For failover to the destination volume (secondary region), all necessary components for the Azure Virtual Desktop service should already be set up in the Secondary Region. This includes, but is not limited to, VNet peering, connectivity to the Domain Controller, a separate OU for the secondary region session hosts, Host pool creation and FSLogix GPOs configured with the path of the destination volume in the secondary region OU. Treat this as a BCDR (Business Continuity and Disaster Recovery) solution with either an Active-Active or Active-Passive configuration. You should activate the secondary region when the primary region is down, rather than waiting for the primary region to fail and then setting up resources in the secondary region.
2. Important Considerations:
1. Azure NetApp Files replication only works within a single subscription; it doesn't support multiple subscriptions. In the below image, both the NetApp accounts are in the same Subscription as required.
2. The destination account must be in a different region from the source volume's region.
Here the Source Region is Central India and Destination Region is South India.
3. The destination NetApp account must have access to the AD Domain Controller and be able to reach the AD in the same way as the source NetApp account.4. Failover is a manual process.
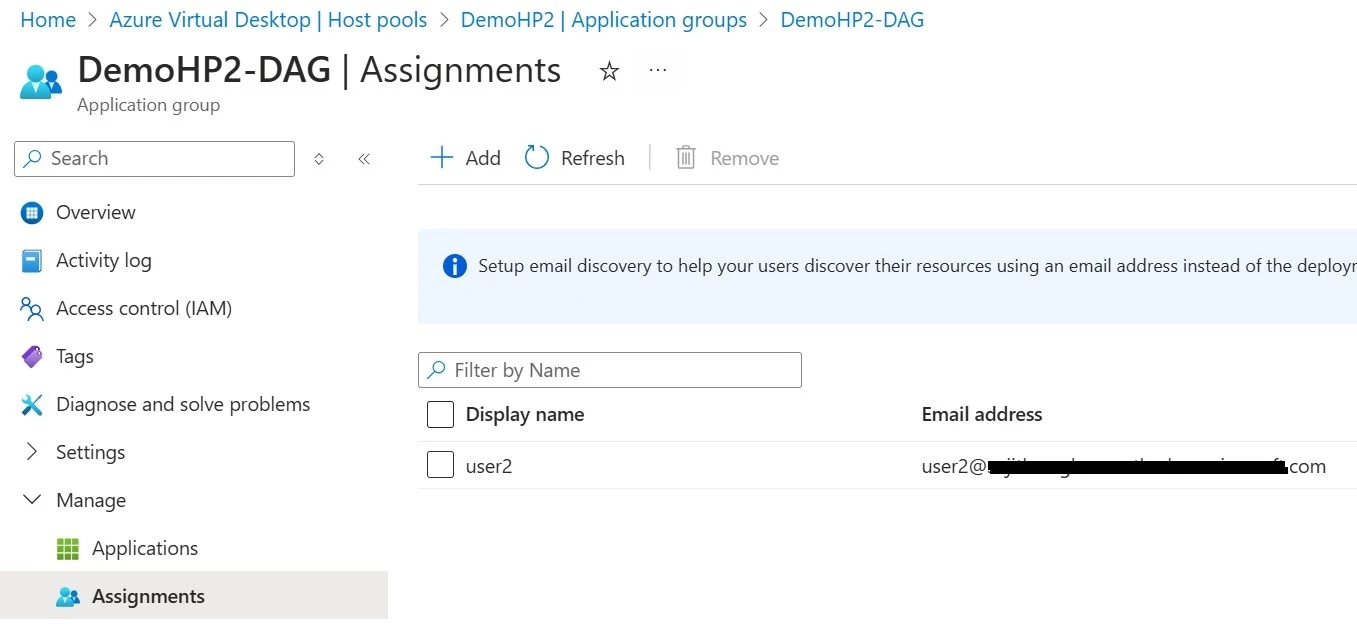
5. When activating the Disaster Recovery plan, first unassign the end users from the primary region host pool before assigning them to the secondary region host pool. This will prevent users from seeing two session desktops and getting confused.
6. When I say "unassigning" and "assigning," I mean you need to go to the Assignments tab of the Host pool and make the changes there.3. Create the data replication volume (the destination volume):
**It is assumed that the Secondary or Destination NetApp File account has been created using the previous blog. At this stage, both the NetApp account and the Capacity Pool should be ready before you proceed with volume creation.**
1. Search for Azure NetApp File in the global search. Go to the Destination Azure NetApp Account created. Click on Storage service->Volumes->+Add data replication.
2. Give the Volume Name.
Capacity Pool is auto populated.
Specify the Quota. Minimum Quota Size is 100 GiB. Mention it as per Customer Requirement.
For Network features, select Standard.
For Encryption key source, select Microsoft Managed Key.
4. Click Next: Protocol.
5. Select the Protocol type as SMB.
The Active Directory and the Share Name tab gets auto populated.
Check all the 3 options:
- Enable Access Based Enumeration
- Enable SMB3 Protocol Encryption
- Enable Continuous Availability
Click on Next: Replication
6. In the Source volume ID, copy paste the Resource ID of the Source Volume we had copied.
There are 3 options for replication schedule-Every 10 minutes, Hourly and Daily. Select appropriately as per Customer requirement.
7. Click Next: Tags
Click on Review +Create
Click on Create to create the Data Replication Volume.
4. Authorize replication from the source volume:
1. To authorize the replication, get the resource ID of the destination volume that we just created and enter it into the Authorize field of the source volume created in the previous blog.
2. Search for Azure NetApp File in the global search. Go to the Destination Azure NetApp Account created. Click on Storage service->Volumes->Click on the Destination Volume created->Settings->Properties.
Copy the complete path in Resource ID field.
3. Now, go to the Source NetApp File Account->Storage Service->Volumes->Click on the Source Volume->Storage Service->Replication. Then select Authorize.
4. Enter the Destination Volume Resource ID in the field.
Click OK.
5. Fail over to destination volume:
**At this stage, it is assumed that users have been unassigned from the Primary Host Pool and assigned to the Secondary Host Pool**
1. For the Fail over to start, you must break the replication peering.
2. Go to the Destination Volume->Storage service->Replication.
Note- Before breaking the peering, make sure:
- Mirror State shows Mirrored. Do not break replication peering if the Mirror State is Uninitialized
- Relationship Status shows Idle. Do not break replication peering if the Relationship Status shows Transferring.
3. Click on Break Peering.
4. Type Yes. Click on Break.
6. Testing of Failover:
1. Before the failover, in the Primary Region (Central India) Session Desktop there were 2 folders on the Desktop:
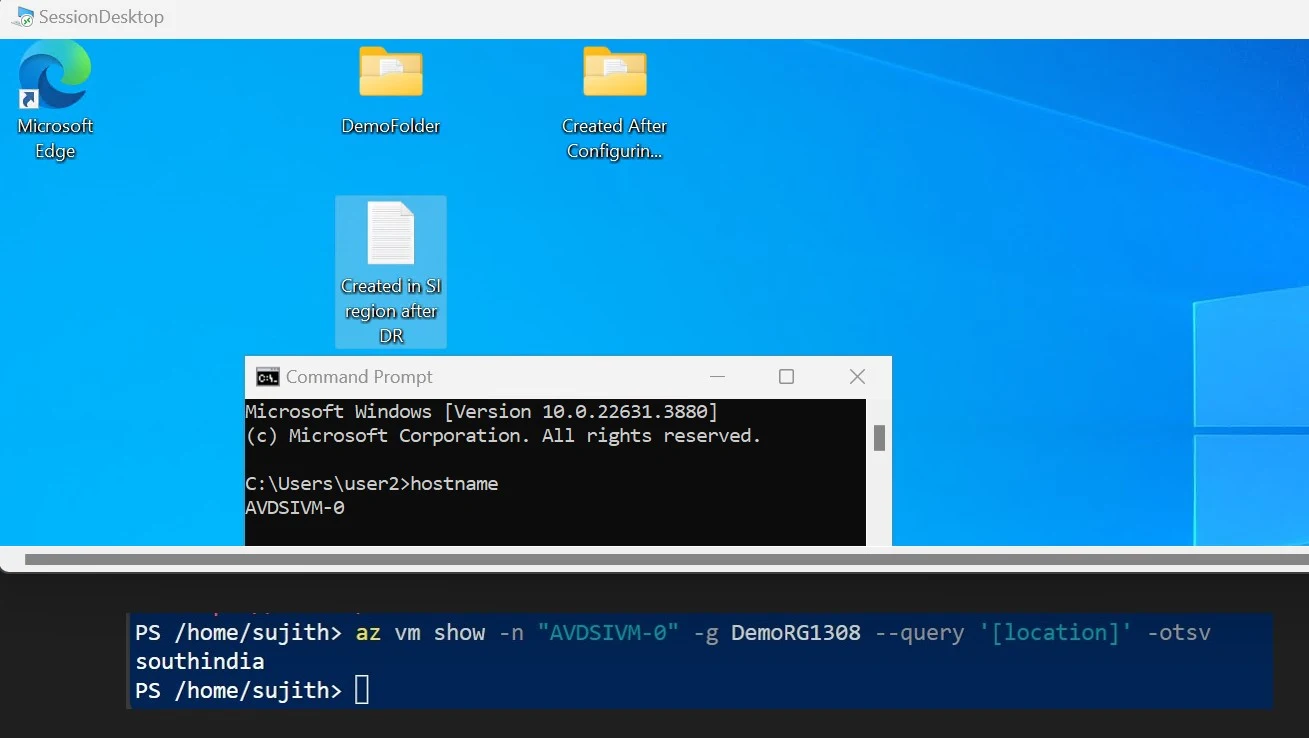
2. After the failover, both folders have been successfully replicated to the Secondary Region Session Desktop (South India). This success is due not only to the NetApp Replication service but also to the AVD services configured in the secondary region.
3. This confirms the failover testing is successful.
7. Resync volumes after disaster recovery:
**At this stage, it is assumed that users have been unassigned from the Secondary Host Pool and assigned to the Primary Host Pool**
1. After disaster recovery, you can reactivate the source volume by performing a reverse resync. This operation reverses replication, syncing data from the destination volume back to the source volume.
2. Go to the Source Volume ->Storage service->Replication->Click on Reverse Resync
3. Type yes and click OK.
4. During the resync process note the points:
Health status is Unhealthy.
Mirror state and Relationship status are blank.
5. Once the process is completed:
Health status is Healthy
Mirror state is Mirrored
Relationship status is Idle.
8. Reestablish source-to-destination replication:
1. Break Peering: After the resync operation from destination to source is complete, you need to break replication peering again to reestablish source-to-destination replication.
Go to the Source Volume->Storage service->Replication.
Note- Before breaking the peering, make sure:
- Mirror State shows Mirrored. Do not break replication peering if the Mirror State is Uninitialized
- Relationship Status shows Idle. Do not break replication peering if the Relationship Status shows Transferring.
Type yes.
Click on Break.
2. Resync: Go to the destination volume. Select Replication under Storage Service. Then select Reverse Resync.
Type Yes when prompted then select OK.
9. Testing of Failback:
1. Before the failback, in the Secondary Region (South India) Session Desktop I had created a notepad on the Desktop to test if it is available post failback:
2. After the failback, along with the existing folders the notepad is also successfully replicated to the Primary Region Session Desktop (Central India).
3. This means the source volume is incrementally updated with the latest updates from the destination volume.
4. This completes the failback testing.


Comments
Post a Comment