
1. Asset Management
1. AM-2: Use only approved services
Features: Azure Policy Support and Alert Rules
Create Azure Policy:
We need to make use of Microsoft Defender for Cloud service to enable the Azure Policy
1. Search Defender for Cloud in the Global search

2. Click on Management-Environment Settings-Tenant Root Group-Subscription


5. For example, you can click on the policy, such as 'Secure transfer to storage accounts should be enabled,' and then click on Assign.

6. For the scope, click on the three dots and select the required subscription. I would recommend selecting the scope at the subscription level, but if the customer has a specific requirement, feel free to change the scope to the resource group level.
7. If there are any resources that need to be excluded from this policy, mention them under 'Exclusions.' I have none.
8. The assignment name will appear automatically.

9. A brief description can be added if needed to provide more context or clarify the purpose of the assignment.
10. Policy enforcement is Enabled.
11. In the 'Assigned by' field, you can enter the name of the admin or the admin group, depending on the requirement.
12. Click Next.

13. I haven't made any changes in the 'Advanced' tab and have kept the default settings. Click Next.


18. Click Next.
 19. Click Create.


21. This is how the policy with the 'Deny' effect works:


1. Search for Alerts in the Global search. Click on Create-Alert Rule

2. I have selected Subscription as the Scope.


5. Under the Signal Source filter, select Policy.
6. Select 'deny' Policy action. (Policy evaluation).
7. Click on Apply.
 8. Click Next: Actions


11. For Region select Global.
12. Give a suitable action group name and display name.
13. Click Next: Notifications
 14. In the Notification type, select Email/SMS message/Push Voice.

15. Give a suitable name.
16. Click Next: Actions


19. Click Next: Details

21. Click Next: Tags
 22. Click Create.


24. Similarly, create two more alert rules for Audit and AuditIfNotExists. All other options remain the same; only the Signal Name changes.

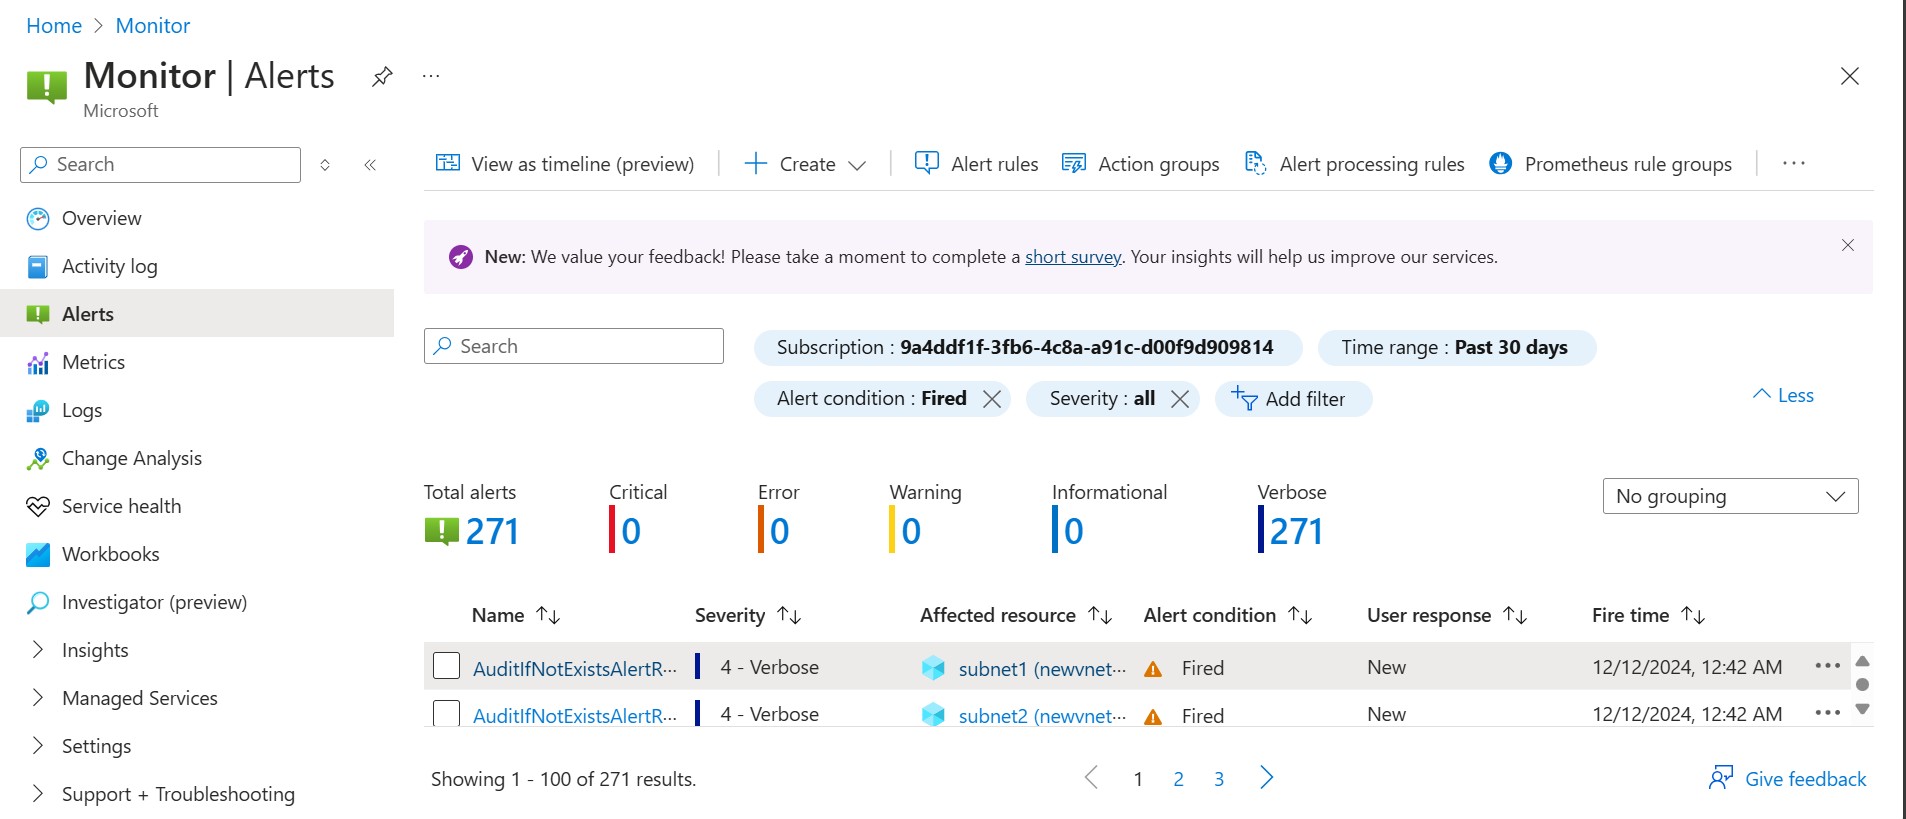
25. In the global search, type 'Alerts' and click on it. You will see a list of triggered alerts. Depending on the alert, you can take action (New, Acknowledged, Closed) against each alert as an admin and then click on the three vertical dots.

2. AM-5: Use only approved applications in virtual machine
Features: Microsoft Defender for Cloud - Adaptive Application Controls
As per Microsoft documentation it says Adaptive Application Control from Microsoft Defender for Cloud isn’t supported for AVD, but you can still choose how to give remote users access. You can either provide them with a full virtual desktop or just specific applications. If you choose specific apps, called RemoteApps, users can access only those apps, giving them a smooth experience while keeping the rest of the virtual machine hidden. This reduces security risks by limiting what users can interact with.
Publish Remote Apps:
In this blog, we will use an example to demonstrate how to publish MS Teams as a Remote App.
Note- You need to have a host pool already configured
1. Select the appropriate Subscription, Resource Group and the Host pool
2. For Application group type, Remote App is selected as default.
3. Give a suitable name for Application group name.
4. Click Next.


6. For Application source select File path.
7. For Application path give shell:appsFolder\MSTeams_8wekyb3d8bbwe!MSTeams
8. For Application identifier give a number.
9. Give a Display name
10. For require command line select No.
11. Click Next.

12. Give the icon path: C:\Program Files\WindowsApps\MSTeams_24295.605.3225.8804_x64__8wekyb3d8bbwe\ms-teams.exe
13. Icon Index as 0.
14. Click Next.
 15. Click Add.


17. Add appropriate users or groups.
18. Click Next: Workspace.

20. Click Next: Advanced.
21. Click Next: Tags

22. Click Create.

23. MS Teams is published successfully.


Sujith, this is really impressive. The steps are very concise and to the point. Please make more such blogs.
ReplyDelete